DIY lighting: Cheap modifiers and beauty dishes
This article is written by a member of our expert
community. It expresses that member’s views only. We welcome other
perspectives. Here’s how to contribute to EDU.
I recently found myself looking back on all that Model has given me (numerous laughs, a few headaches, mad curve ball skillz, fuel for my creativity, creative people with whom to shoot and lessons galore), I have started thinking, “What have I given back?”
Now, I’m rarely given to New Agey concepts of paying it back or forward, but in an effort to not be a selfish p***k, here are a few things I’ve made and I’d like to share. I hate buying the latest gadgets (actually, I love it but can rarely afford it), so I’ve learned a few shortcuts to modifying lights on a thin wallet. Use them if you want, or not. They are worth every penny.
First: The sheet metal, roofing, and vent hood section of Home Depot is FULL of things that can be modified, cut, and used. Dremel tools cut anything. JB Weld rocks.
If you try anything here and it doesn’t work for you, you cut yourself, glue your hand somewhere you shouldn’t, etc., DON’T blame me. This is for information only. Try the projects below at your OWN risk. Be safe. Be smart.
Have Alien Bees? You’ll find some things to help stretch a buck.
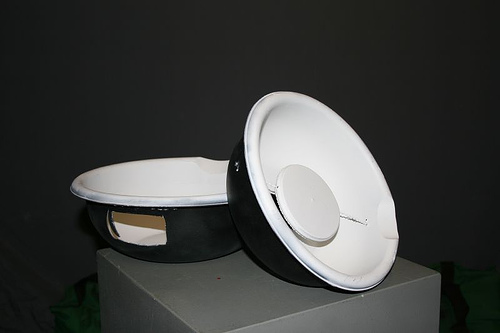
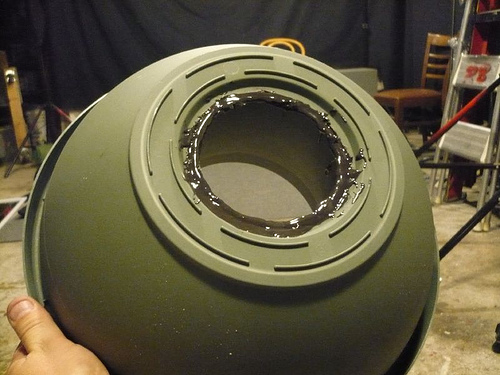
These are speedlight modifiers (Canon 540ez) made from plastic mixing bowls, flat white or black spray paint, a vent cap for the front, and baling wire. A port for light was cut with a Dremel. One is a background scoop for even lighting (speedlight saved), and the other is a beauty dish (used with a cord, usually).
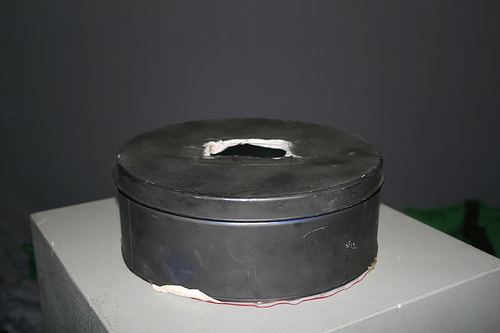
An earlier attempt with an old Danish cookie tin:
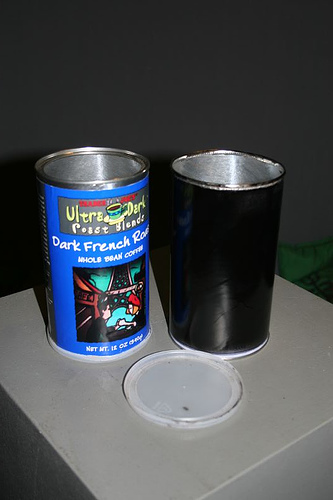
Trader Joe’s coffee cans make great snoots, already silver lined. Just cut off the bottom and presto! The top ring fits AB mounting hooks, and the opaque cap diffuses if you want it to. Or it can hold on CTB/CTO, etc.
Another option is to cut the cap in the shape of a speedlight, and voilà, you have a speedlight snoot.
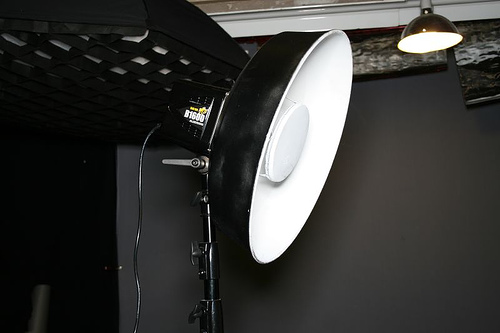
An old rusty china hat (an alley or doorway light?) turned into a beauty dish.
Cut off the back and attach your own speedring, paint, etc. The inner cap is a vent hood cap with 2 pieces of sheet metal. JB Weld holds ANYTHING.

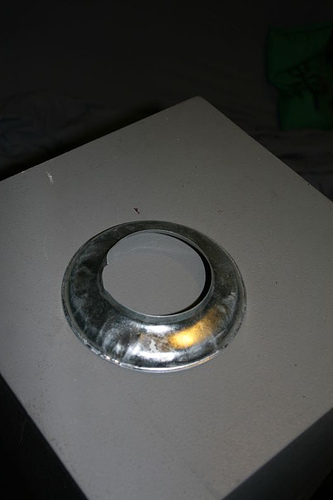
Speaking of speedrings, this is a flashing cap, again, from Home Depot. Attach with JB Weld to whatever. Drill a hole for an umbrella if you’d like. Fits AB perfectly. Great for brolly boxes and umbrellas to minimize spill.
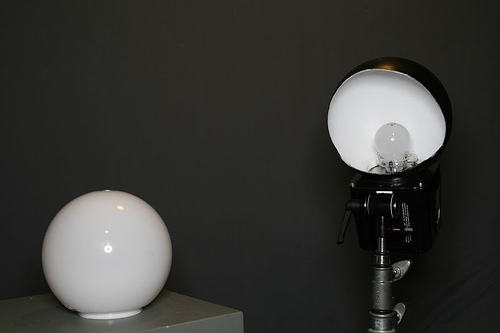
Someone on Ebay sells these for 25 a pop. More power to him, but they are 9.99 at the Depot. Acrylic light shades. I cut one up and painted it as a background cove light. Nice falloff. Leave it intact for a large soft source or use gaffer’s tape to shape it where you want it. It fits ABs.
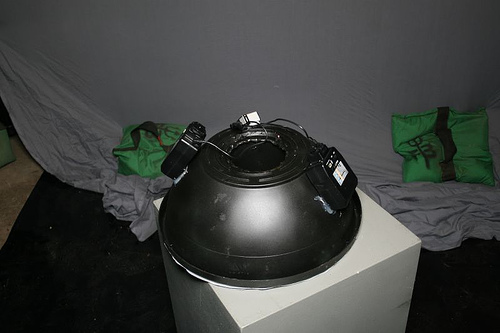
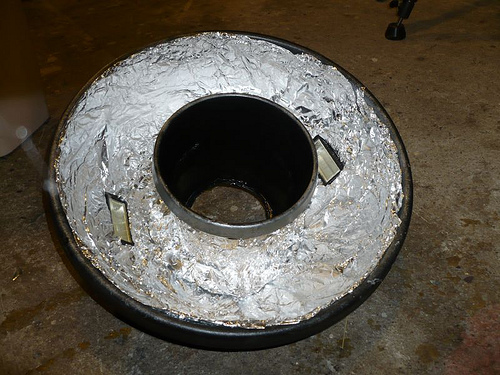
Finally, I don’t have 4 bills to blow on an ABR 800 ringflash. I did, however, have a few cheap flashes lying around. Power is low and unchangeable. Both PC cords are wired together through a wein safe sync.
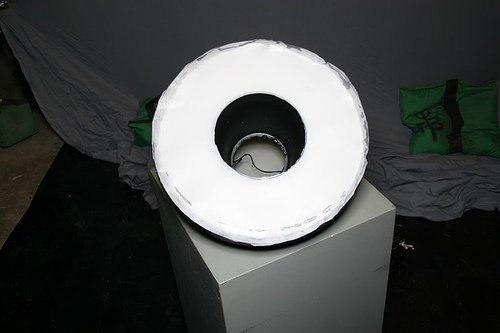
Interior without 216 on the front
Closeup of crappy flash:

The process:
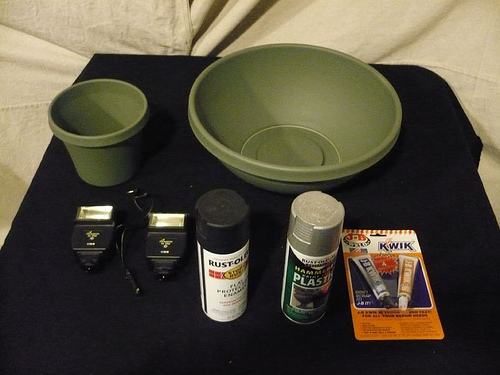

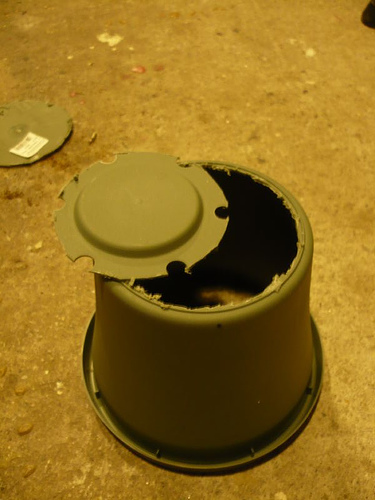
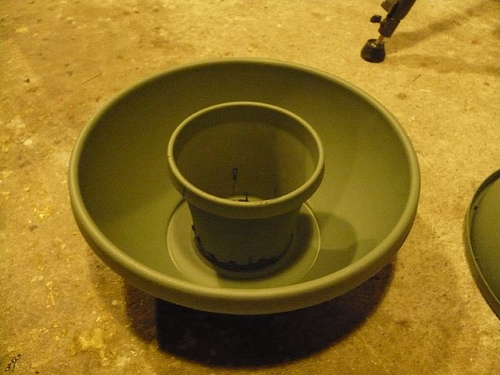
You’re wondering about the results:

Bob is 5 feet from the backing. This was shot at ISO 100 f/6.3 from about 6 feet away. It ain’t a great ringlight, but it took 2 hours’ work, 2 flower pots, and 2 crappy flashes. I’ll use it a bunch later on, I think. Unretouched, lg JPG uploaded to flickr. Any compression is from the uploading, but the halo was actually pretty distinct.
I recently found myself looking back on all that Model has given me (numerous laughs, a few headaches, mad curve ball skillz, fuel for my creativity, creative people with whom to shoot and lessons galore), I have started thinking, “What have I given back?”
Now, I’m rarely given to New Agey concepts of paying it back or forward, but in an effort to not be a selfish p***k, here are a few things I’ve made and I’d like to share. I hate buying the latest gadgets (actually, I love it but can rarely afford it), so I’ve learned a few shortcuts to modifying lights on a thin wallet. Use them if you want, or not. They are worth every penny.
First: The sheet metal, roofing, and vent hood section of Home Depot is FULL of things that can be modified, cut, and used. Dremel tools cut anything. JB Weld rocks.
If you try anything here and it doesn’t work for you, you cut yourself, glue your hand somewhere you shouldn’t, etc., DON’T blame me. This is for information only. Try the projects below at your OWN risk. Be safe. Be smart.
Have Alien Bees? You’ll find some things to help stretch a buck.
These are speedlight modifiers (Canon 540ez) made from plastic mixing bowls, flat white or black spray paint, a vent cap for the front, and baling wire. A port for light was cut with a Dremel. One is a background scoop for even lighting (speedlight saved), and the other is a beauty dish (used with a cord, usually).

An earlier attempt with an old Danish cookie tin:

Trader Joe’s coffee cans make great snoots, already silver lined. Just cut off the bottom and presto! The top ring fits AB mounting hooks, and the opaque cap diffuses if you want it to. Or it can hold on CTB/CTO, etc.
Another option is to cut the cap in the shape of a speedlight, and voilà, you have a speedlight snoot.

An old rusty china hat (an alley or doorway light?) turned into a beauty dish.
Cut off the back and attach your own speedring, paint, etc. The inner cap is a vent hood cap with 2 pieces of sheet metal. JB Weld holds ANYTHING.


Speaking of speedrings, this is a flashing cap, again, from Home Depot. Attach with JB Weld to whatever. Drill a hole for an umbrella if you’d like. Fits AB perfectly. Great for brolly boxes and umbrellas to minimize spill.

Someone on Ebay sells these for 25 a pop. More power to him, but they are 9.99 at the Depot. Acrylic light shades. I cut one up and painted it as a background cove light. Nice falloff. Leave it intact for a large soft source or use gaffer’s tape to shape it where you want it. It fits ABs.

Finally, I don’t have 4 bills to blow on an ABR 800 ringflash. I did, however, have a few cheap flashes lying around. Power is low and unchangeable. Both PC cords are wired together through a wein safe sync.


Interior without 216 on the front

Closeup of crappy flash:

The process:


You’re wondering about the results:

Bob is 5 feet from the backing. This was shot at ISO 100 f/6.3 from about 6 feet away. It ain’t a great ringlight, but it took 2 hours’ work, 2 flower pots, and 2 crappy flashes. I’ll use it a bunch later on, I think. Unretouched, lg JPG uploaded to flickr. Any compression is from the uploading, but the halo was actually pretty distinct.
No comments:
Post a Comment